 Phixit
Adjust the contrast of a photo
Hazy days, cheap lenses and scanned prints give flat, gray-looking photos. Raising contrast makes darks deeper and lights brighter; lowering it calms down harsh midday shots.
Free, no sign-up. Your photo stays on your device. Try it on a sample photo
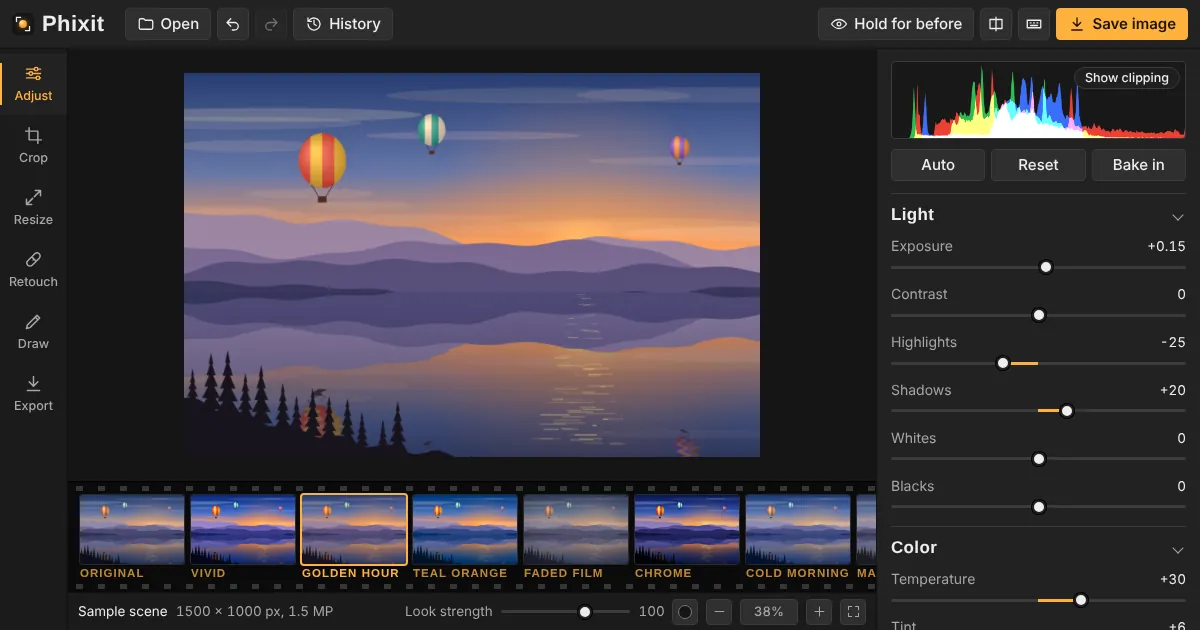
How to adjust the contrast of a photo
- Choose or drop a photo. It opens with Contrast raised to 25.
- Drag Contrast until the photo has the depth you want. Negative values flatten it.
- If whites or blacks start losing detail, pull back Highlights or raise Shadows. Save from Export.
Good to know
- Turn on Show clipping above the histogram to see exactly where detail is being lost.
- For finer control, an S-shaped curve under Curves adds contrast only in the midtones.
- Clarity adds contrast to edges and shapes rather than to the whole tonal range.
Questions
Why does raising contrast make colors stronger?
Brighter lights and darker darks spread the color channels further apart too. Lower Saturation slightly if it becomes too much.
What is the difference between contrast and clarity?
Contrast works on the whole range of tones. Clarity works locally, on edges and textures.
Can I add contrast to just the sky?
Not with a mask; the controls apply to the whole photo. The Color mixer can darken blues, which deepens skies.
Related tools
- Shadows and highlightsLift dark faces against a bright sky and recover bright clouds without flattening the photo.
- CurvesShape the tones of a photo with a curves tool, on all channels together or red, green and blue separately.
- Dehaze a photoCut through fog, haze and dirty windows with dehaze, then add clarity for crisp mid-tone detail.
- Color correctionCorrect exposure, contrast, white balance and saturation with the same controls photographers use.