 Phixit
Adjust a photo with curves
Curves are the most precise tone control there is: every point on the line maps an input brightness to an output brightness. Bend it into an S for contrast, lift the bottom for a matte look, or tint the shadows with a single channel.
Free, no sign-up. Your photo stays on your device. Try it on a sample photo
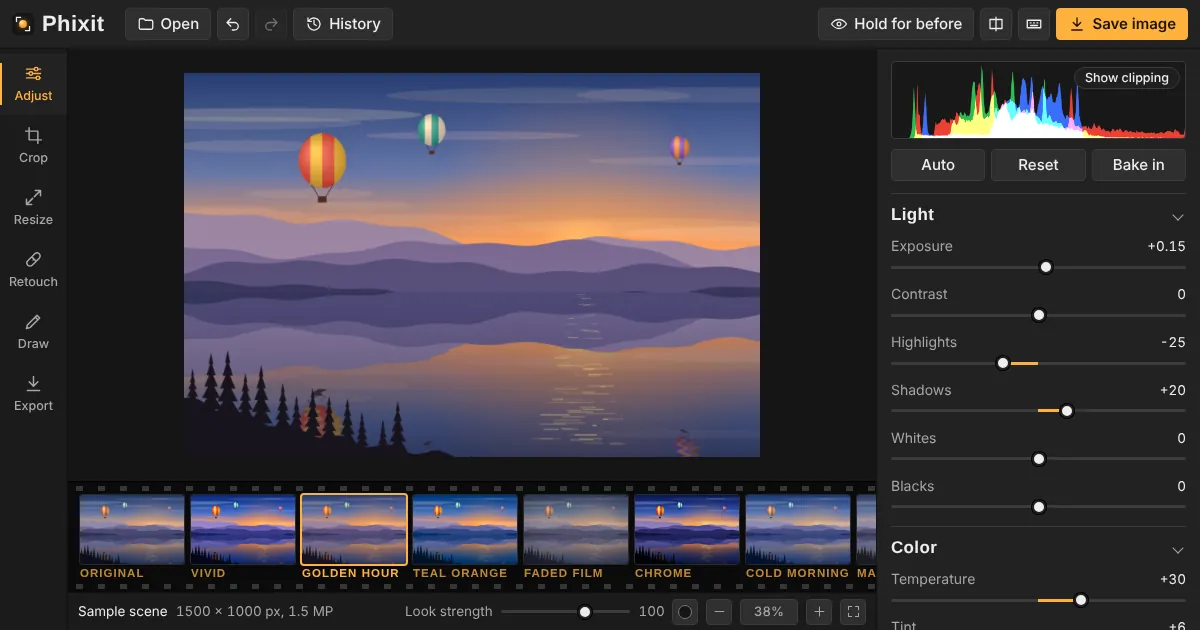
How to use curves on a photo
- Choose or drop a photo. The Curves panel opens.
- Click the line to add a point and drag it. Up brightens that range of tones, down darkens it. Double-click a point to remove it.
- Switch to Red, Green or Blue to shift color in particular tones, then save from Export.
Good to know
- A gentle S curve (shadows down, highlights up) is the classic way to add contrast.
- Raising the bottom-left point gives faded blacks, the matte film look.
- In the Blue channel, lifting shadows and lowering highlights gives the popular teal-and-warm look.
Questions
Why do my curves never overshoot?
Phixit draws the curve with a monotone spline, so it never bends past the points you set and never creates strange tone reversals.
How many points can I add?
As many as you like, though three to five is usually plenty.
Can I reset just one channel?
Yes. Select the channel and click Reset.
Related tools
- Adjust contrastAdd punch to flat photos or soften harsh ones with a contrast control that protects highlights and shadows.
- Color gradingTint shadows and highlights separately for a cinematic look: teal and orange, warm and cool, or your own palette.
- Faded matte effectLift the blacks and soften the contrast for a faded, matte, vintage film look.
- Color correctionCorrect exposure, contrast, white balance and saturation with the same controls photographers use.