 Phixit
Add a border to a photo
A simple border makes a photo look finished, like a print with a margin. Choose a thickness and a color, and add it in one click.
Free, no sign-up. Your photo stays on your device. Try it on a sample photo
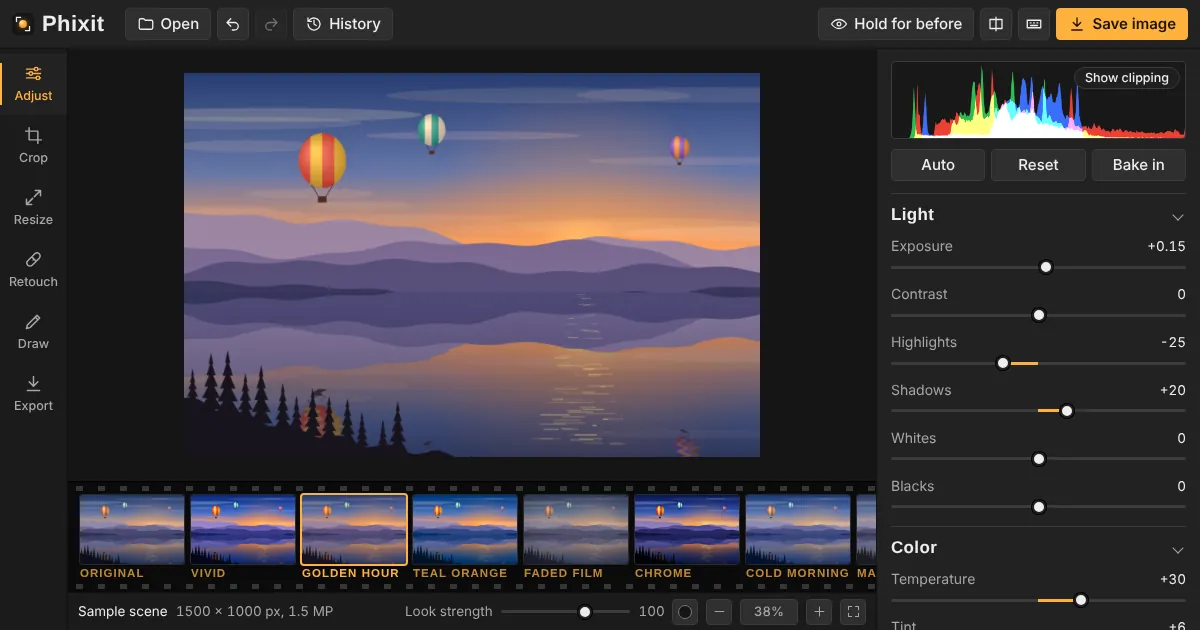
How to add a border to a photo
- Choose or drop a photo. It opens on the Resize panel with the Border controls in view.
- Set the thickness in pixels and pick a color.
- Select Add border, then save from Export.
Good to know
- Thin white borders suit galleries and portfolios; a thick border in a color taken from the photo looks designed.
- Add two borders of different colors for a mat-and-frame effect.
- For a square post that keeps the whole photo, use Fit a photo in a square instead.
Questions
How thick should a border be?
Around 2 to 5 percent of the photo's width looks balanced. On a 2000 px photo that is 40 to 100 px.
Will the border change my photo's size?
Yes. It adds the thickness to every side, so a 1000 px wide photo with a 40 px border becomes 1080 px wide.
Can I match the border color to the photo?
Yes. In most browsers the color box opens a picker with an eyedropper you can use on the photo.
Related tools
- Fit a photo in a squarePost full photos on Instagram without cropping: Phixit adds a blurred or solid background to make any picture square, 4:5 or 9:16.
- Crop to a squareTurn any photo into a 1:1 square for Instagram, profile pictures and avatars.
- Add text to a photoWrite on photos with 8 fonts, outline and shadow, plus arrows, boxes and freehand drawing.
- Photo filters17 photo filters from Golden hour to Noir, each with a strength slider, plus full manual control: curves, color mixer, grading and grain.