 Phixit
Sharpen an image
Phone photos, resized images and slightly soft focus all benefit from a little sharpening. Phixit boosts fine edges and leaves smooth areas such as skin and sky alone.
Free, no sign-up. Your photo stays on your device. Try it on a sample photo
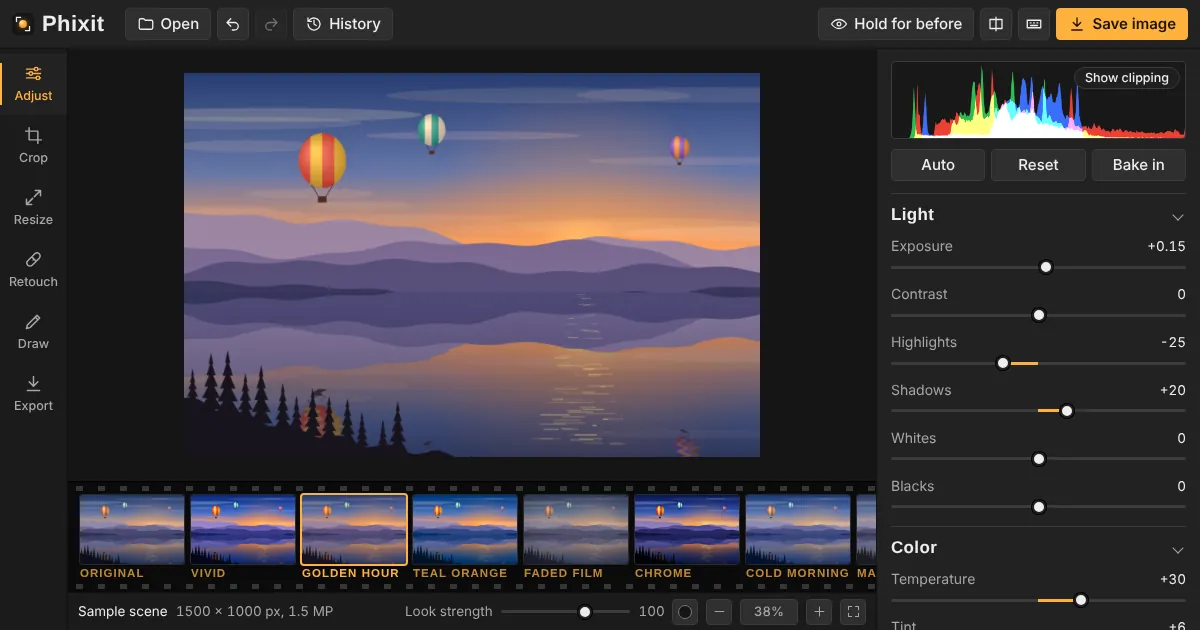
How to sharpen an image
- Choose or drop a photo. It opens with Sharpen already set to 60.
- Zoom to 100% (press 1) to judge it properly, then drag Sharpen up or down until edges look crisp but not crunchy.
- Save from Export.
Good to know
- Add Noise reduction at the same time: sharpening otherwise makes grain more visible, and the two are tuned to work together.
- Clarity, in the same panel, adds punch to larger shapes, which often reads as sharper too.
- Sharpen last if you are also resizing: shrink first, then sharpen.
Questions
Can sharpening fix a blurry photo?
It helps with slight softness. It cannot recover detail lost to camera shake or missed focus; nothing can, short of guessing.
How much sharpening is too much?
When you see bright outlines along edges or the grain starts to sparkle. View at 100% to judge.
Does it work on the full-size photo?
Yes. The preview and the saved file use the same sharpening at full resolution.
Related tools
- Reduce noiseClean up grainy night and indoor photos with edge-aware noise reduction, plus a separate fix for colored speckles.
- Dehaze a photoCut through fog, haze and dirty windows with dehaze, then add clarity for crisp mid-tone detail.
- Resize an imageResize photos to an exact pixel size or a percentage with sharp Lanczos resampling.
- Color correctionCorrect exposure, contrast, white balance and saturation with the same controls photographers use.